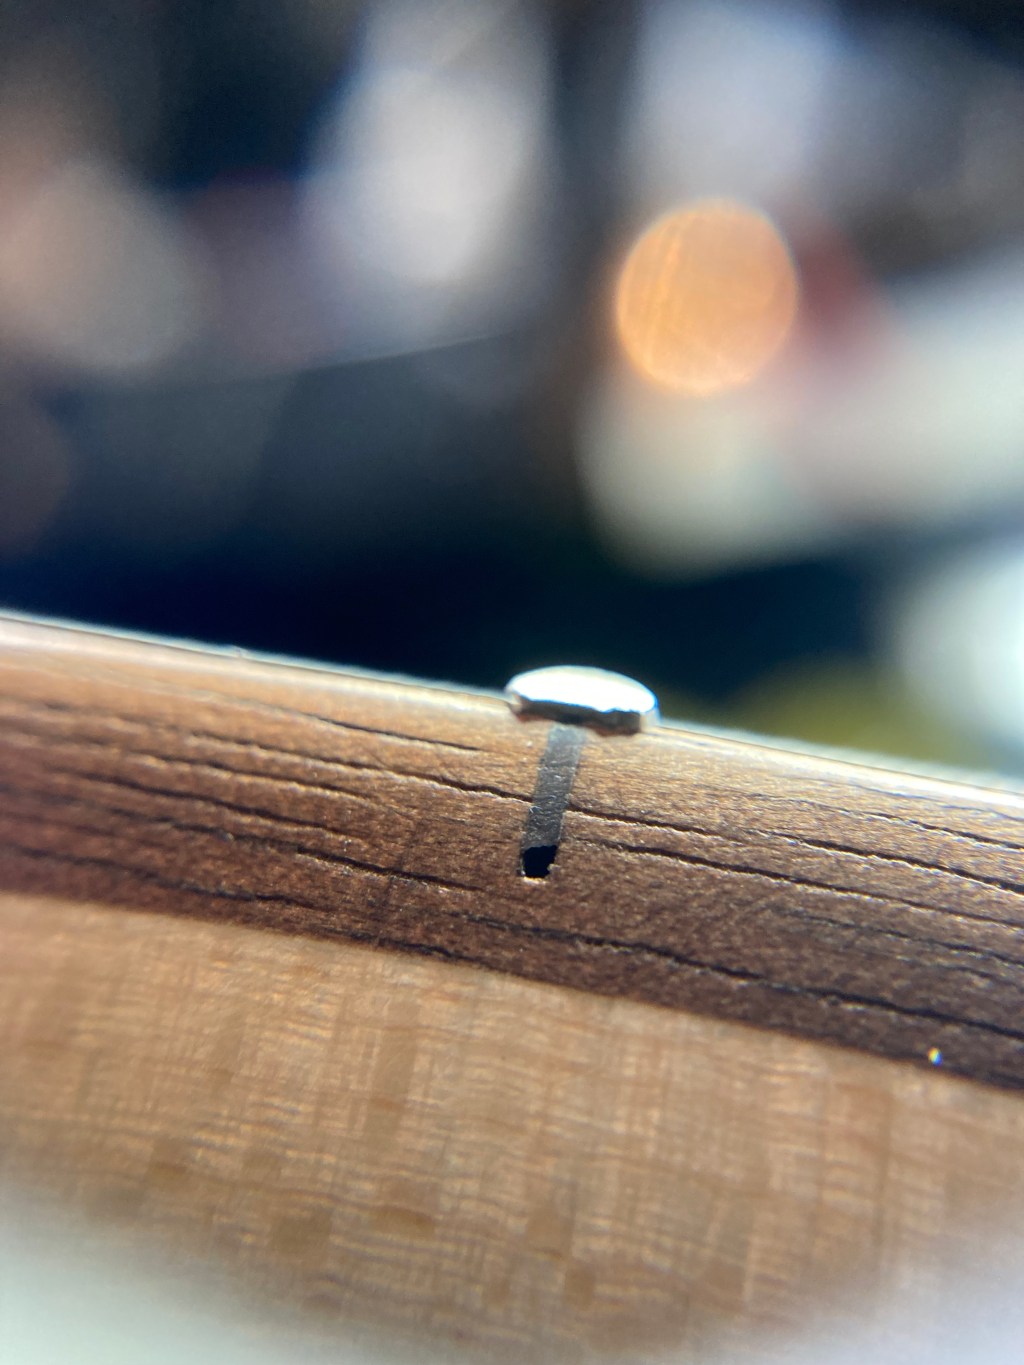
As Autumn swept through and dried things up and winter gets even drier, I get a lot of complaints about fingers getting knicked by frets and even causing some bleeding. It will surely keep you focused on avoiding those deadly fret ends and not on your playing.
The ends of the frets, usually referred to as “ fret ends”, start protruding from the sides of the fingerboard when the wood dries out. This happens on all types of fingerboard wood and can vary from fingerboard to fingerboard.


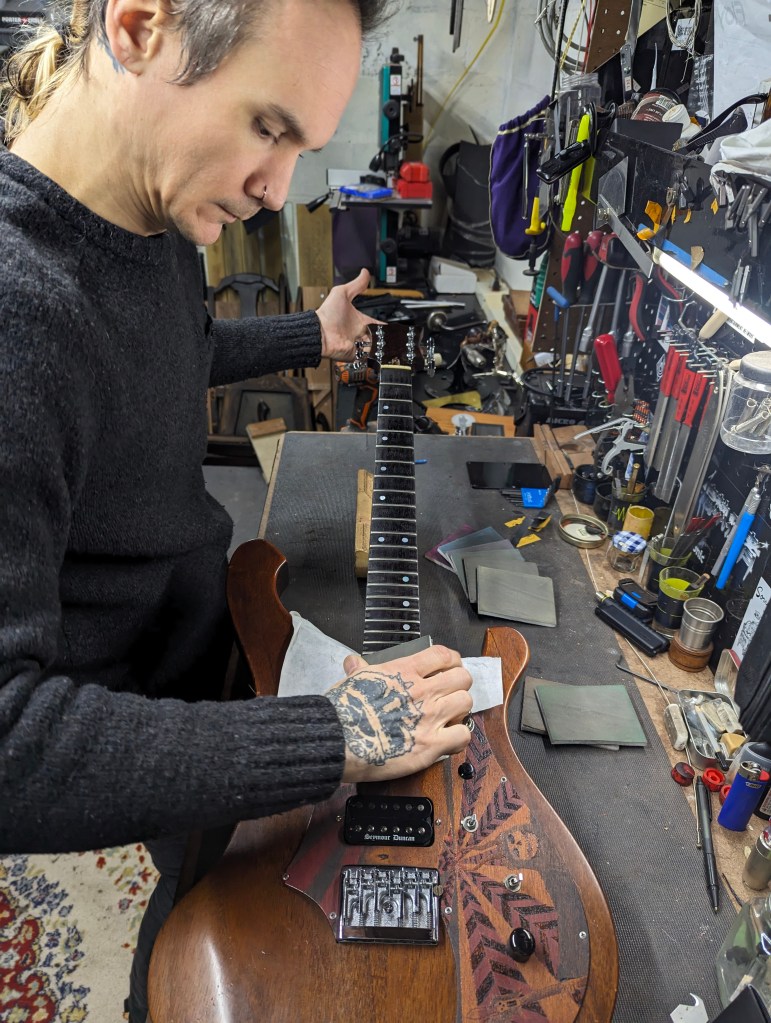
Like most guitarists, I enjoy having a few guitars out around the house and not locked up in cases tucked away in a closet or under a bed. Hanging on walls like art or resting on a stand in the corner of a room, this novelty of enjoying our wooden instruments does come at a price. As we leave them out in the elements of our homes they are as susceptible to the changes in humidity as any part of our house made with wood is – like the door that sticks all summer and “fixes itself” come winter (or that cupboard door with the opposite behavior?).
Wood is hygroscopic, meaning that its moisture content will change with the relative humidity of its surrounding. The arid weather of winter and the dry heat pumping out of your furnace is dehydrating your home and your guitars too if they aren’t taken care of properly. The exchange is slow but can be noticed within a day or it could take over a week, depending on the wood and how quickly the environment changes.
This can be noticed even throughout the year as humidity changes. A week or maybe three go by before you return to a guitar you know was playing perfectly and you strum the first chord and it’s completely out of tune. You tune it and start playing but notice the fret ends protruding out of the side of the fingerboard- or maybe they’re not anymore. The action may be a bit higher… or lower than before. Your neck makes the exchange with the room it’s in and it could take all the enjoyment out of play if you’re not sure what to do.
Solutions for your fret ends
So what would your prefer? You have several options. You could:
- Keep it in the case with a humidification system and miss out on admiring it as it sits or hangs from its stand.
I keep my acoustic guitars in hard cases with humidification systems because they are quite a bit more susceptible to changes in humidity. Remember, the entire inside of the body is not sealed or finished, save for some overspray through the soundhole, so there’s plenty of uneven moisture wicking to cause some ruckus.
- Keep it in a climate-controlled environment.
I keep my shop consistent with a dehumidifier. Despite some fanatics claiming a specific humidity level to be optimum, a level of 50% ± 10% (meaning 40-60%) is ideal for your instrument. I keep mine set at 50% and my room fluctuates between 50-54% year round. I keep a classical guitar out of a case in my shop and it’s almost never been even slightly out of tune.
- Leave it out and bring it to a tech every time it needs a minor adjustment.
Some techs really enjoy how much you rely on them to keep your instruments playing their best and this issue can be dealt with rapidly, given time in their schedule. If you’re not comfortable with tools or specifically doing any work on your beloved instrument, this is your next best option aside from the first two options.
- Enjoy the benefits of some light DIY on your instrument
Learn some minor maintenance on your guitar so seasonal changes or sharp fret ends won’t keep you away from your guitar.
DIY?
If you’d like to take care of your protruding fret ends, allow the following to serve as a guideline to your endeavor.
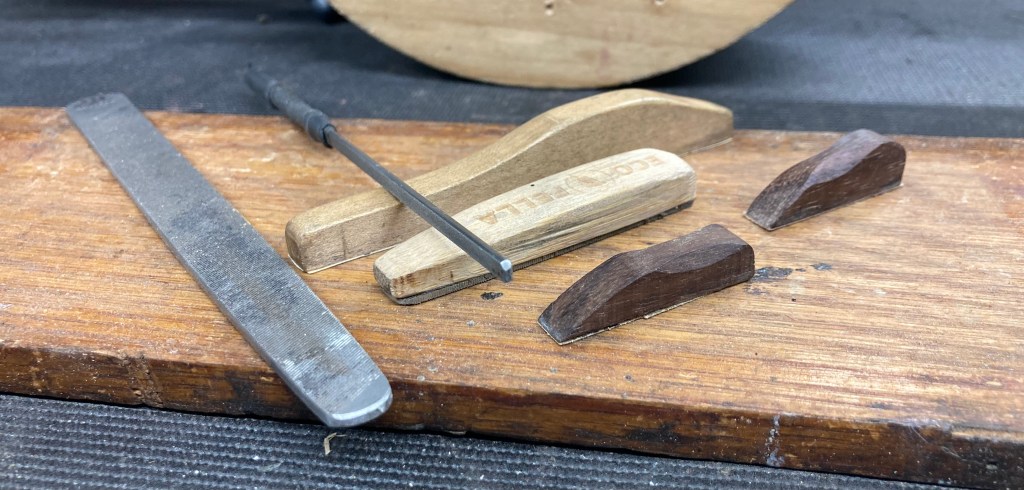
Filing or sanding the fret ends will be necessary to alleviate the problem and the pain. Additionally, re-dressing them will make it feel (and look) even better. A smooth, bastard cut file, a triangle file, and some fine grit sandpaper are the only tools needed to do this yourself. A steady, confident hand can perform this maintenance in under an hour despite your experience.
If you’re comfortable with removing the strings, at least from the tuners and freeing up the fingerboard, then I would recommend this method for the novice. You could also slack the strings and pull them out of the nut and off to the sides of the neck. If you’d like to test your skills, leave them in place! Just make sure you’re not hitting any strings with a file or sandpaper.
If you’re not removing a bolt-on neck or have a set-neck or neck-thru guitar, protect the finish with some low-tack masking or drafting tape. You can always minimize the tack of a tape by placing on your shirt or pant leg a few times. The collected fibers will reduce the tapes tack siginificantly.
Place a piece on either side of the body along the neck. You could tape below the fret ends, along the fingerboard and even the headstock as a precaution but as you develop your skills you may find this to just be a waste of tape.
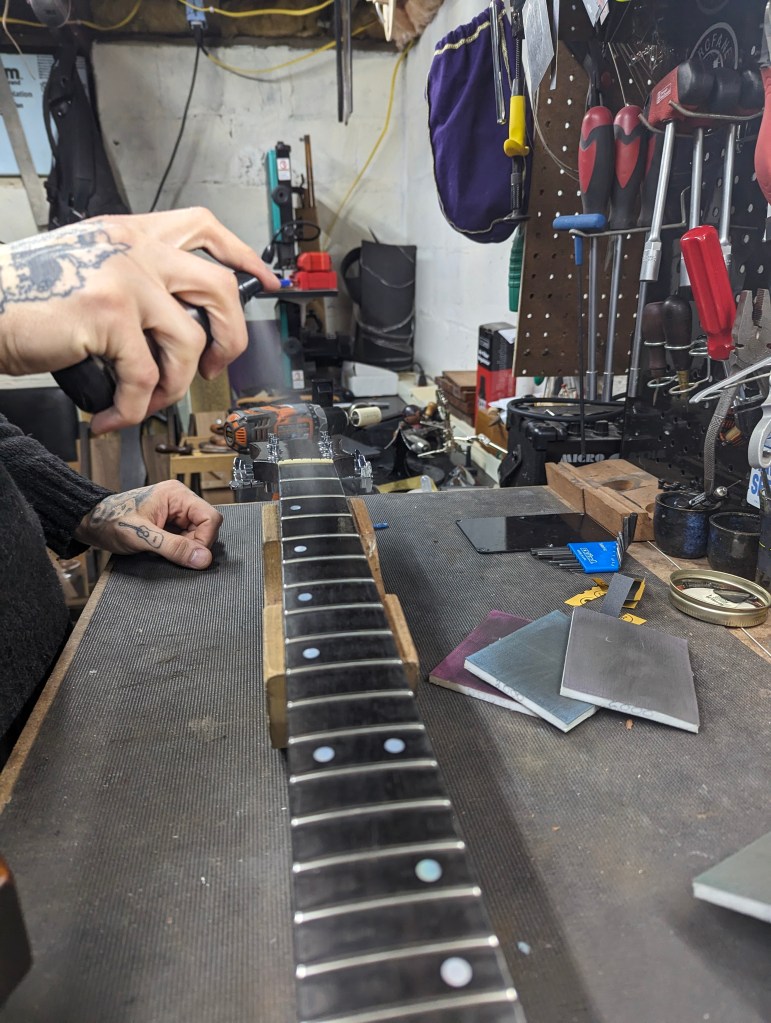
Start by removing the protruding fret ends on one side of the neck first. Hold the file or sanding block parallel to the edge of the fingerboard or slightly following the existing bevel. The method should start out slowly and lightly with a trusting grip on the tool.
The more patient your work is, the less can go wrong. Applying too much pressure could result in losing control of the tool and sliding off the back or side of the neck, or worse: sliding over the fret tops, gouging them. Angle the leading edge away from the fingerboard and focus on your hand strokes, executed through mindful motions and not through excessive force or speed.


As the tool levels the fret end to the fingerboard, you may be causing light scratches in the finish on the side of the fingerboard or over the binding if present. These scratches will be removed as you polish the fret ends. Allowing the file to do the cutting with only enough pressure to maintain control of the tool will minimize, if not negate, scratches in the finish on the sides of the fingerboard.
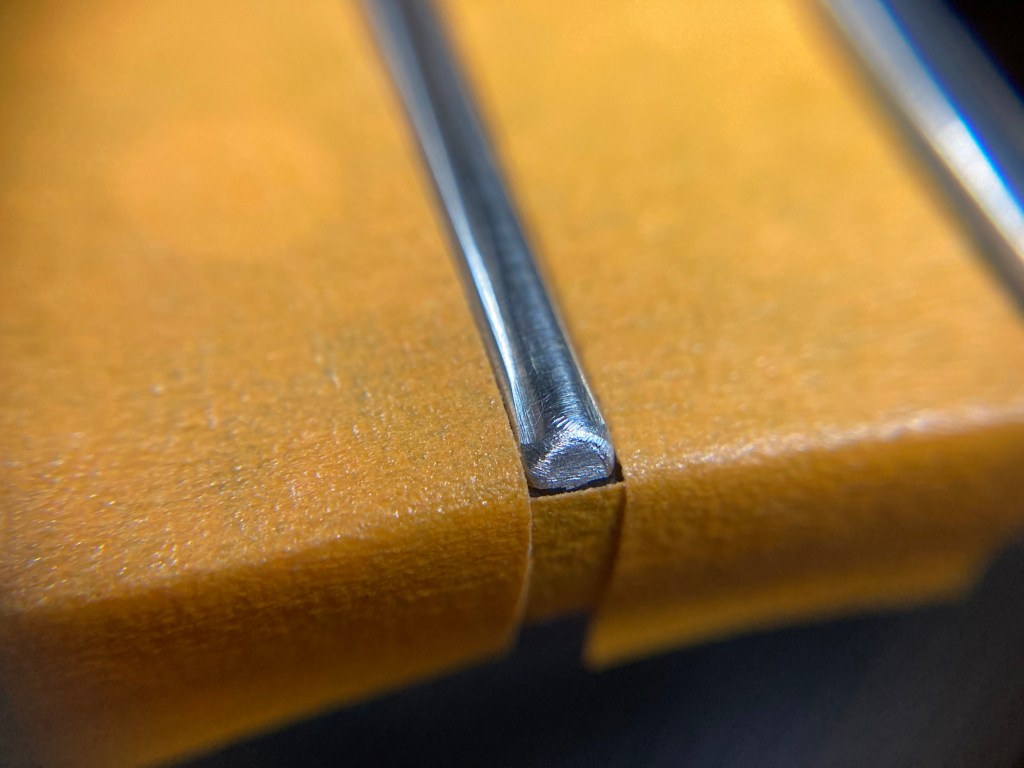
Now that the fret end is level with the edge of the fingerboard, it should flow back into the existing bevel. Match the existing angle with your tool and back off just slightly. This will help you prevent the bevel from increasing and the subtle amount of material not touched by the tool will be blended in during the polishing process.
You could stop at this point and finish up polishing the frets ends… or consider one more task: reshaping the ends of the frets. Not only does this process eliminate the sharp edge of the fret just waiting to reach out and slice you again, it also can add a little more comfort. Skipping this process and just polishing can minimize this edge, but reshaping the fret end can lengthen or prevent this from happening again. It also makes the work look professionally executed.
Traditionally, triangle files were and still are used by techs and luthiers for reshaping fret ends as well as crowning fret tops. I learned both of these skills with a triangle file with its edges ground dull to prevent fingerboard gouges. I purchased a file marketed as a “fret end file” about 15 years ago and I never went back to my triangle file. Its flat dull side rests against the fingerboard as I remove the burr and its rounded dull side as I round and blend one side of the fret in one fluid combination (see video below). Two swipes on each side of a fret end and I move on. This same technique is a little more difficult to execute with a triangle file. I find that fingerboard guards and other protective products have a tendency to be a cumbersome nuisance and perfecting the skill with controlled hands eliminates the consumption of unnecessary safety products.

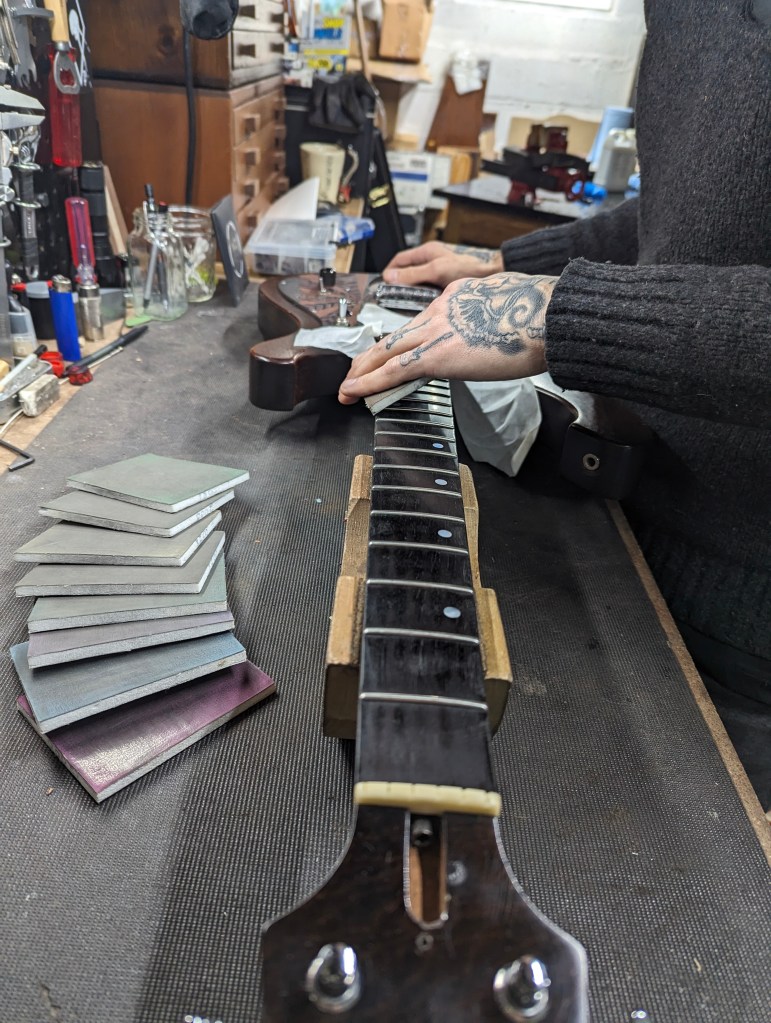
Finish up dressing the frets by polishing them with a set of polishing pads, sanding sponges or just some traditional sandpaper. Start with some 400 grit. If you can see scratches in the frets that are coarser, try some 320. You shouldn’t need to go any coarser than that. Some guitar manufacturers and builders will just file the bevel and stop there. I know several techs and luthiers that stop at 1000 or 1500 grit. I like to polish my fret ends like my fret tops: mirror finish. I start with sandpaper, working from 400 to 600 or 800 up to 1000 and then move over to a set of polishing pads that have been my dedicated set for years and they still polish excellently. They start at 1500 and continue on (over a 9 grit course) to 12000 grit. Using each one could be overkill for fret ends and I usually skip a few in between with great results. Polishing the frets to a mirror finish helps prevent things like tarnish or even rust from building up on the frets.
Cleaning and conditioning the fingerboard


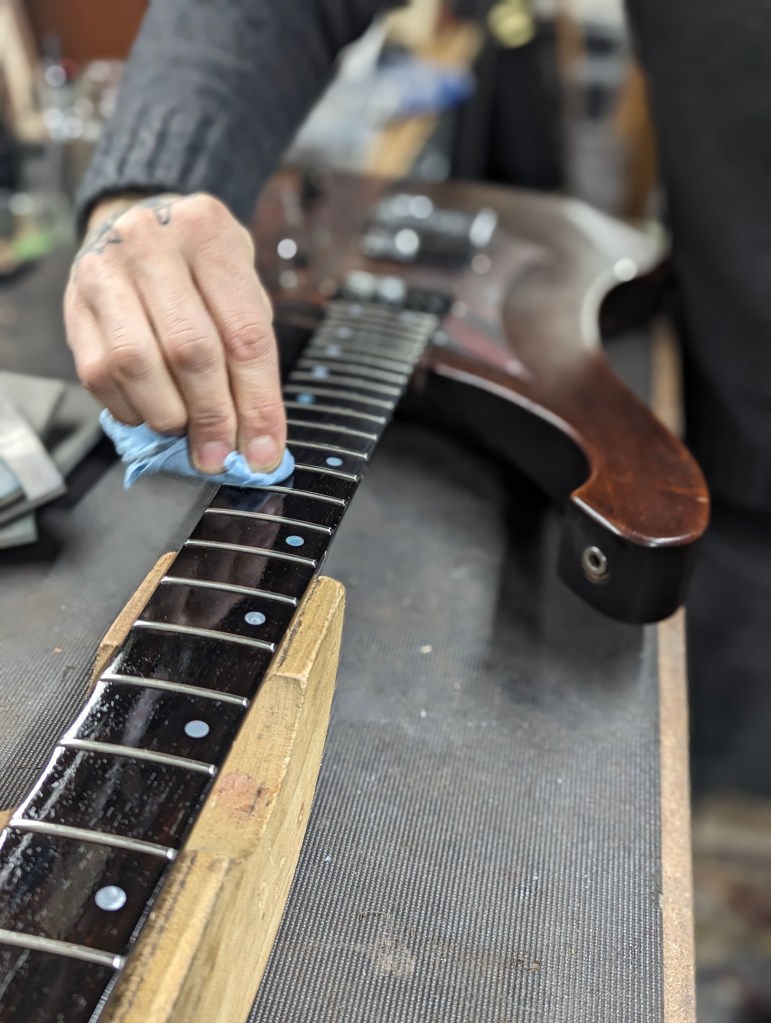

I like to remove any oils and dirt that have accumulated on the fingerboard with a shop towel and isopropyl alcohol. This is done with caution and never on a finished fingerboard (perhaps a future article will address this scenario). Once I finish polishing the frets, I’ll do a final cleaning and then rub some mineral oil across the fingerboard, allowing several minutes for it to soak in, and then wipe off the excess. Now I’m ready to restring.
Conclusion: Bardic Inspiration
Don’t let your weaponized fret ends ever keep you from playing comfortably. It’s an easy task to take care of them yourself and, for what it’s worth to you, you’ll leave this task of maintenance with a better understanding of your instrument and perhaps feeling more comfortable taking on some more DIY.
