
The power of suggestion will pull you in its orbit as long as you’re willing to go with it. New gear will always invoke excitement and spark some creativity that can carry you through your next session, the setlist for this weekend, or your next album. There are so many guitars and aftermarket products available today that it’s overwhelming, but it’s easy to stay grounded and figure out what you really need. Sometimes we find out that we just really want another guitar… sometimes we just need a little upgrade on our guitar to make it right.
The urge to buy a brand new guitar can be overwhelming. Clever advertising, paid reviews, and imperious dialogue to make your current axe sound inferior or obsolete. Guitar companies practically stop just short of telling you that their last year’s model doesn’t compare to the latest changes on this years model (I mean, it’s usually just a new color, right?). But what if there’s only just one issue bothering you about your current guitar?
The Power of Suggestion Series of articles is my attempt to prevent you from buying another guitar. It’s likely that there could be something you’re not aware of, or perhaps being told. Consider these options…

The Proper Setup
Electric Guitars
Over the years I have taken in many guitars to setup and clean for my clients who wish to sell them. Some clients disregarded these guitars for years and left them at home, neglected in a closet or buried in a case under a bed. Other’s just never felt like it was “their” guitar for various reasons. While many of these guitars left my shop and were sold shortly after, some never made it to sale. A occasion a client would call or text me that evening or within a few days or working on their guitar, thanking me for whatever magic I performed and that they were thrilled to fall in love with the guitar all over again. They decided to keep their instruments yet nothing was replaced. Sometimes, a guitar just needs a proper setup.
Many guitarist choose to setup their own instruments and I cannot blame them. That’s exactly how my life in guitar repair started. I learned from reading small articles in guitar magazines and fortunate finds at libraries and bookstores. I understood the processes involved in a setup and wasn’t just adjusting parts of the guitar I thought needed attention.
I’ve seen and heard many people go through their process of setting up their guitars and it’s usually an unorganized approach, sometimes hyper-focusing on one area or part of the instrument, oblivious or ignorant of the proper order of execution. The order in which the adjustments are performed is critical in the outcome of the setup. The order of adjustments will be universal on your instruments and the only variations will be how you adjust them.
Learning the proper approach to a setup and executing it precisely will bring your guitar to its playing potential.
The guitar should be tuned to pitch, preferably with new strings. New strings will rule out issues that worn strings will cause, having lost their trueness from wearing on the frets and the accumulation of sweat, hand oils, and dirt. Fairly new strings that are not showing any significant signs of wear can be suitable. Keep in mind that all of the strings should be checked and retuned through every adjustment.
The Order of Adjustments
- Neck
- Bridge
- Nut
- Pickups
- Intonation
The Neck
When the tension of the strings is introduced on the neck, the neck starts bowing forwards. A truss rod is installed in the neck to counteract the tension of the strings. By tensioning the truss rod, the neck starts to straighten back out. Some bow is necessary to allow the strings to vibrate, unhindered, in their elliptical motion. Truss rod adjustments should be made in subtle increments and you should never have to apply much force. If a truss rod has been tightened to its end point, further tightening will inevitably break the truss rod, leading to a costly repair.
Truss rods come with a variety of adjustment nuts. Wether it’s a hex, Allen, spoke or flat blade, many of these tools are available at local hardware stores or easily found at luthier suppliers and other web stores.
Keep in mind that the heel of a bolt-on neck may need to be adjusted with a shim to correct neck pitch. This can be evident while adjusting the neck or the bridge.
The Bridge
Once the neck has been adjusted, the bridge height will follow. Placing a capo behind the first fret will eliminate a high or low nut but keep in mind that many factory specs are based on measurements made without one installed.


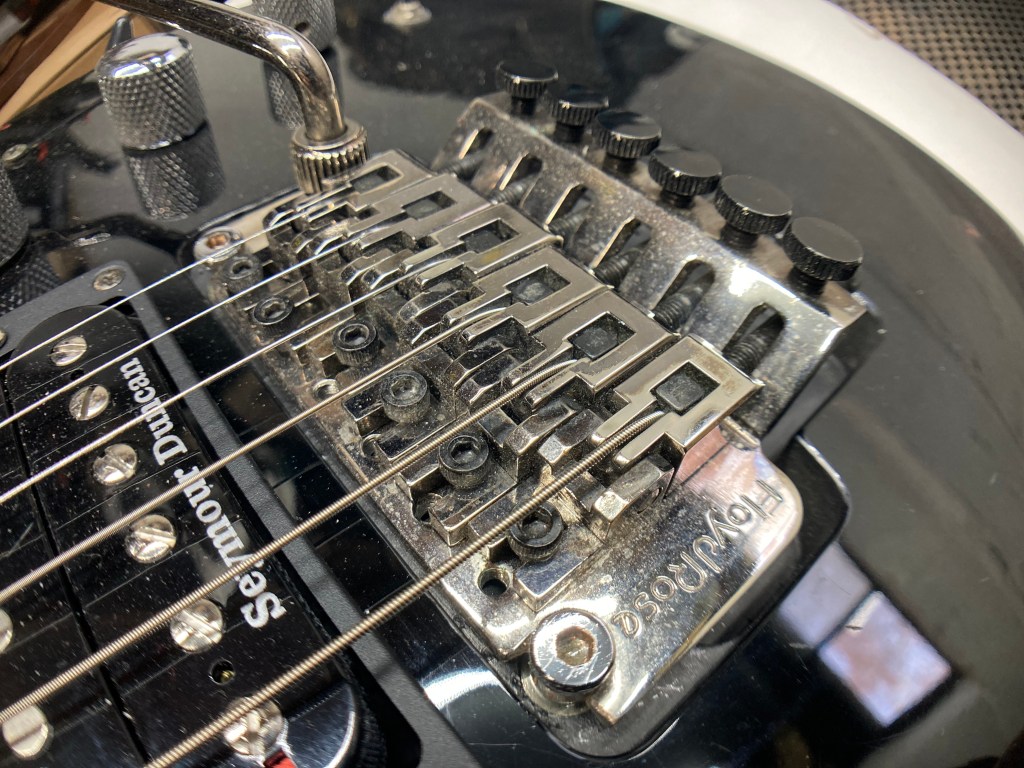
Some bridges, like a tune-o-matic, do not have individual adjustments for the saddle and must be adjusted by the posts on either side. If the radius of the strings are not matching the fingerboard, then the string slots in the saddles can be filed accordingly. When the radius of vibrato bridges, like the Floyd Rose, need correcting, shims underneath the saddles should be installed under the proper strings to correct any inconsistencies in the radius.

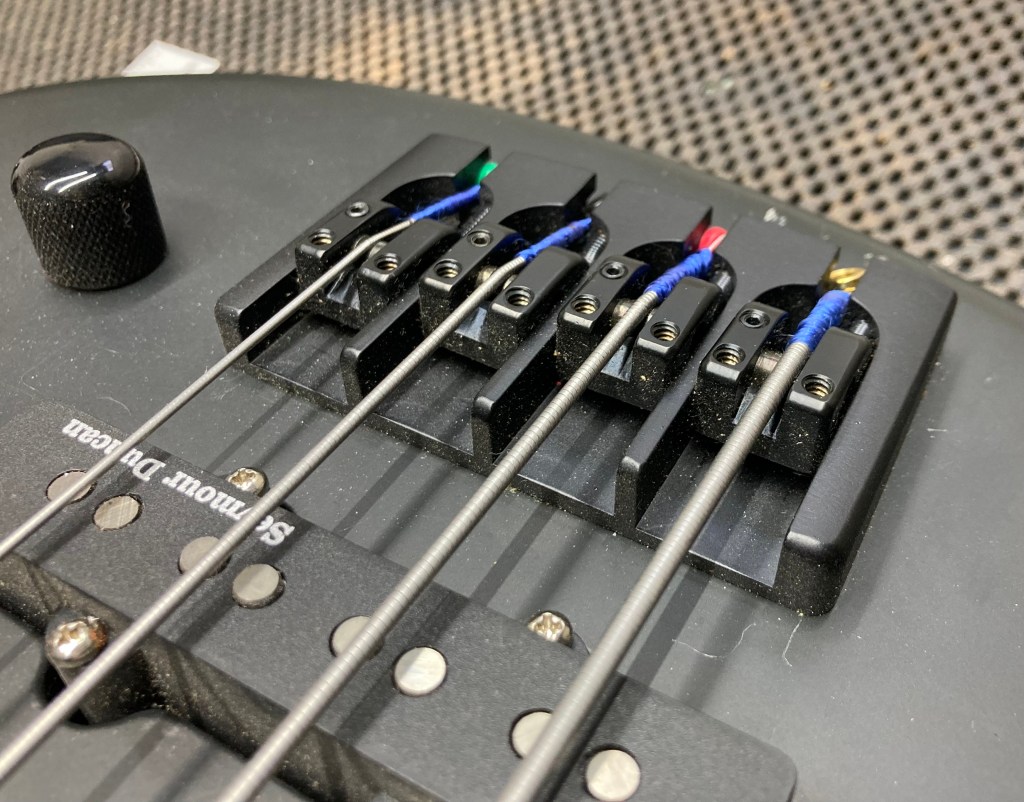

Non-locking vibrato bridges and mounted bridges offer the convince of adjusting individual strings, or, like many Telecaster bridges, pairs of strings.
Remember that when you raise the bridge the strings will raise in pitch too, putting more tension on the neck. Retuning and raising a bridge in increments provides a wiser approach.
The Nut


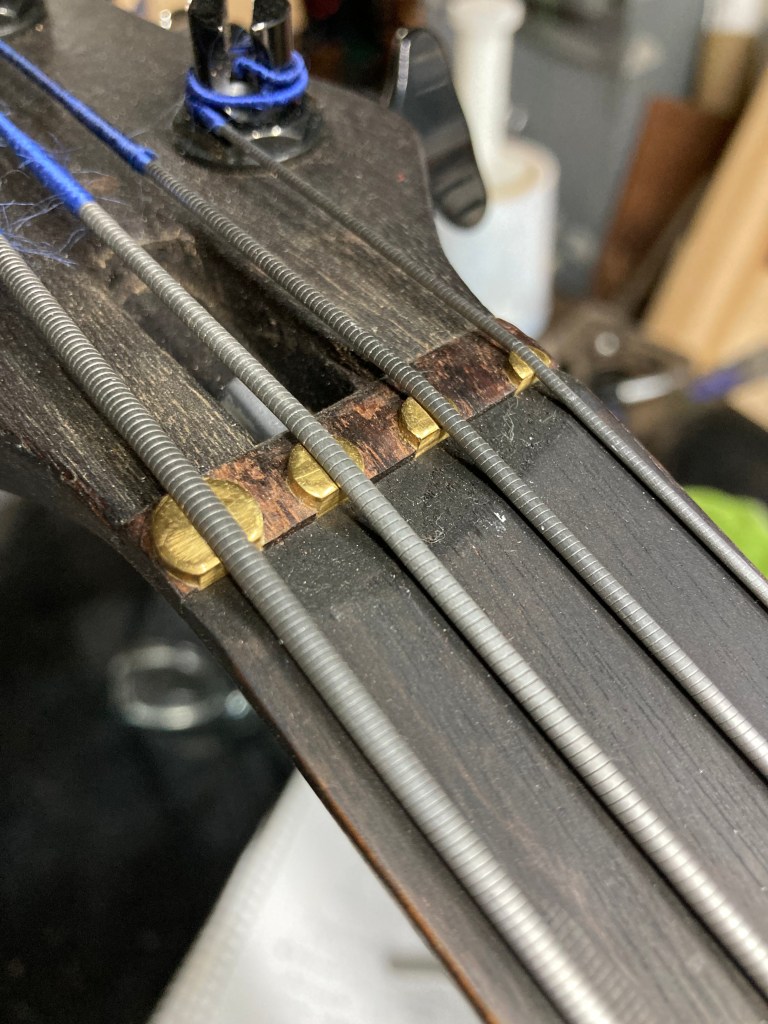
Adjusting the height of the strings at the nut is probably the most avoided aspect of the setup by the DIY guitarist. It is often a result of the lack of proper tools. If you own nut files make sure you are using files that are the same size as the strings. If you lack an exact size (ie: a 0.036″ string and a 0.032″ file) you can widen the nut slot by rocking the file side to side to a small degree, slightly extending it cutting width. Buzzing and sustain issues arise when a nut slot is too wide for a string.
Strings that buzz while open are indicative of a low nut, if not the result of a wide nut slot. If only one or two strings are low it is often a time saving technique to fill the string slot with a mixture of superglue and material from the nut. This is not the best solution but, when performed well, can extend the playability of the guitar until the nut can be shimmed or replaced.
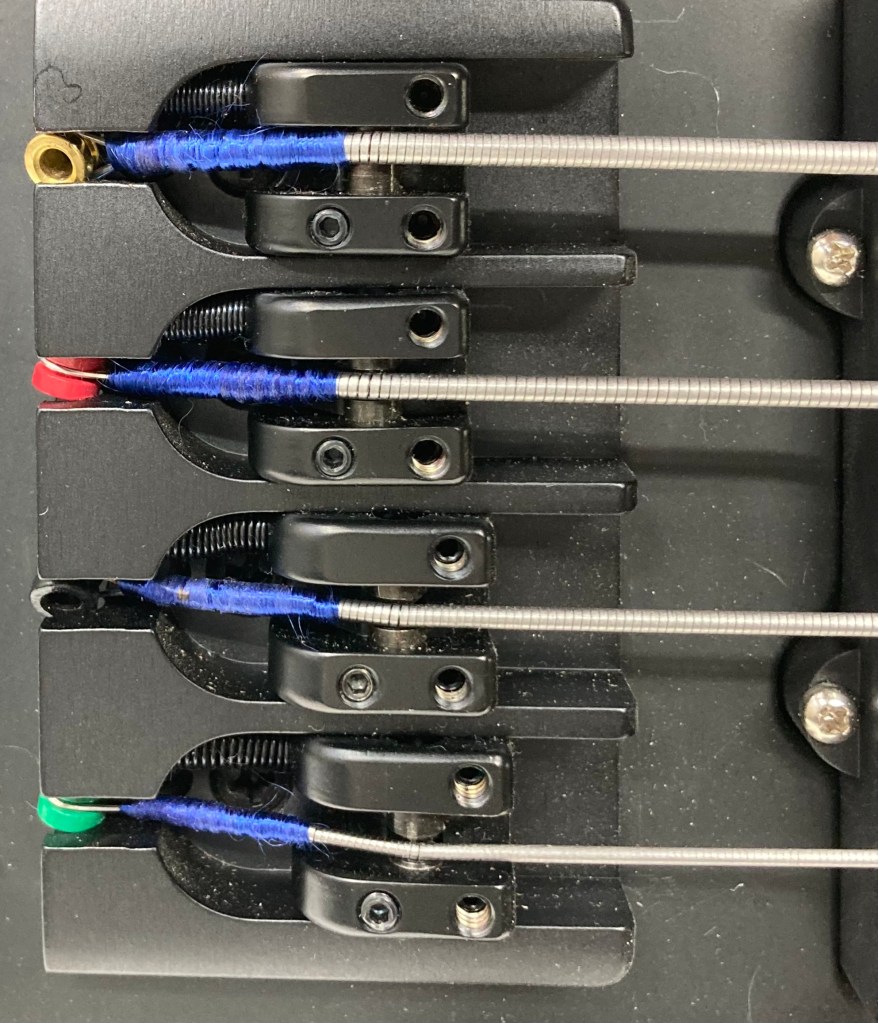
Locking nuts should have a matching radius to the fingerboard (check the radius at the first fret as the fingerboard could have a compound radius). Filing a string slot on a locking nut is rarely ever needed and sanding the nut shelf should be the proper approach to high nut action or correcting a radius issue. Locking nuts are available in several radii and should be properly matched with the fingerboard and bridge. Shimming a side or the whole nut may be necessary to relieve string buzz. Metal shims are available but plastic and business cards are still a staple.
Pickups


Pickups are always overlooked during the setup yet have such a significant role in the sound of an electric guitar it should be worth spending plenty of time on. Pickups should be adjusted before the intonation to avoid excessive pull on the strings from a pickup positioned too close to the strings. Adjust the height on either side to balance out the volume of each pickup, including the balance between pickups. Start with the pickup used most on that particular guitar and set it between 1/16th to 1/8th of an inch below the strings, measured while pressing the corresponding outside string at the last fret. Spend some time listening to your tone as you raise or lower the pickup. This is a very critical element to how your guitar will sound and affect everything you plug into afterwards. After you’re satisfied with the primary pickup, adjust the other pickups accordingly.
Intonation


When your guitar is playing exactly how you want and pitch is the only thing off, your intonation needs to be adjusted. The general rule is that the note you fret at the 12th fret of each string should match the harmonic played over the 12th fret. Fret the note at your normal pressure and adjust the strings saddle.
This is a great opportunity to verify the action at the nut. When the fretted note matches the harmonic, check the first few frets. These notes should be playing in tune as well. And they better as they are most likely played far more than the 12th fret on every string! If, however, these notes still play sharp you can generally conclude that your nut slots may need lowering or in conjunction with the bridge height. Other contributing factors could be fret wear or excessive neck bow.
Need More than just an overview of a setup?
While this was really just an article detailing the significance of getting a proper setup done on a guitar before making a judgement call on it, I tried to lay a foundation to grasp for those who like to futz around with their own guitars. This article provided the frame work of a setup, but not the specifications of any type of setup. In the near future I will be posting the beginning of The Setup Series, walking readers through the setup process of specific guitar and bass types.
